How to Make Reusable DIY Period Panties
Table of Contents
Period panties are one of the most practical, low-cost, and sustainable solutions for menstrual care. They make free bleeding feel simple, no pads shifting around, no tampons drying you out, no waste piling up. Just soft, breathable fabric that holds what it needs to.
They’re cheaper over time than constantly buying disposable products. They’re better for the environment. And they give your body more space to bleed in its own way, without being plugged or chemically processed.
As someone who loves sewing and stitching my own clothes, it felt natural to try making my own. I wanted better materials than what most store-bought options offered. I wanted a fit that actually worked for my body. And I wanted to know exactly what was sitting against my skin.
In this article, you’ll find a detailed, step-by-step guide to making your own diy period panties. We’ll cover which materials actually work, how to sew and layer each section, and what to know before you start.
Materials Needed To Make Your Own Period Panties
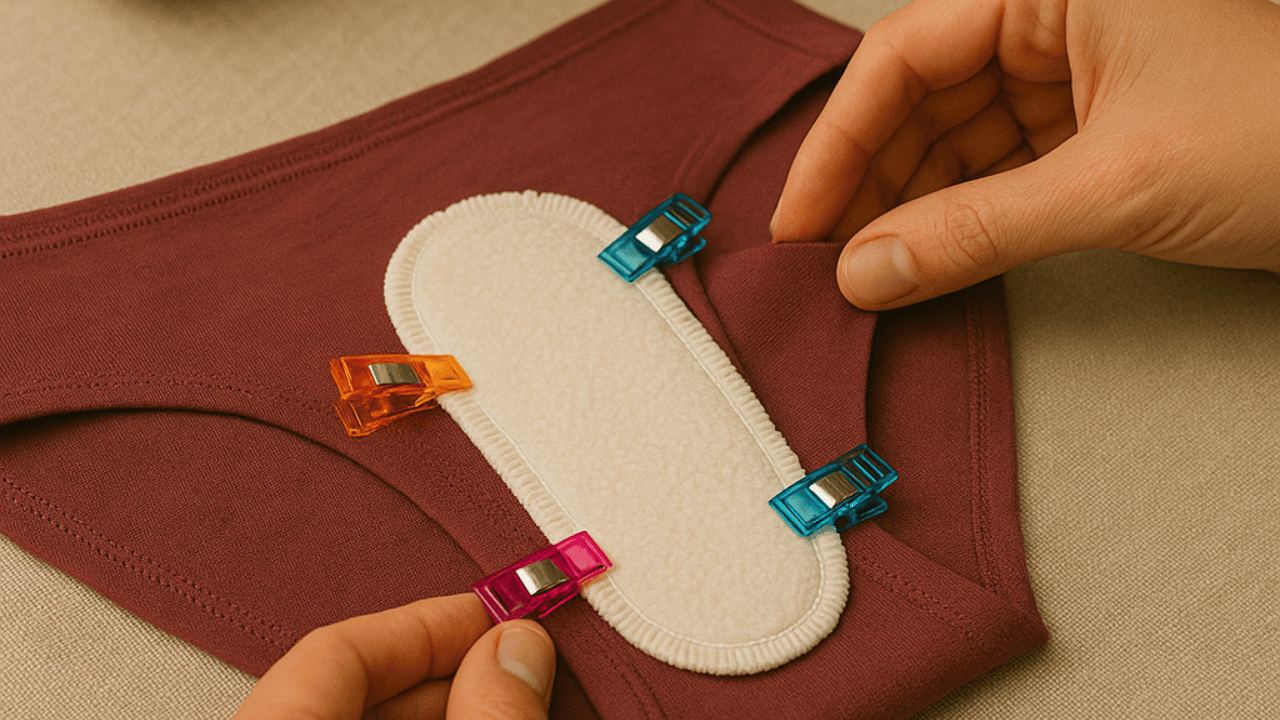
Fabric clips (not pins)
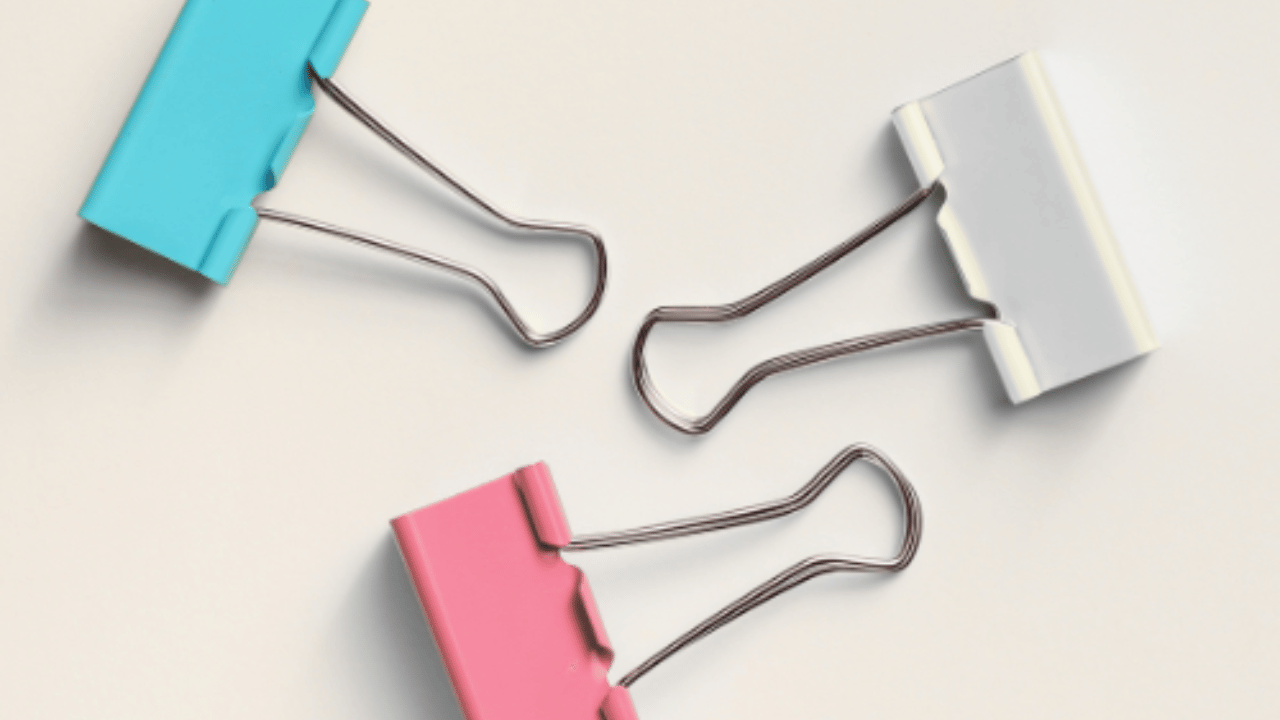
Use fabric clips to hold your layers together while you sew. Unlike pins, fabric clips won’t poke holes in waterproof fabrics like PUL (polyurethane laminate). PUL is a thin, flexible, waterproof fabric that forms the leakproof layer in your period panties, holes from pins will cause leaks. Fabric clips are strong enough to secure thick or slippery layers and prevent shifting without damaging your materials.
Pattern paper
You’ll need tracing paper, craft paper, or even a large sheet of baking parchment to make a pattern. Trace around a pair of your favorite underwear that fits well, then extend the gusset (the central, crotch area) so it covers your entire vaginal and perineal area. This extra coverage is important for catching flow where you actually bleed.
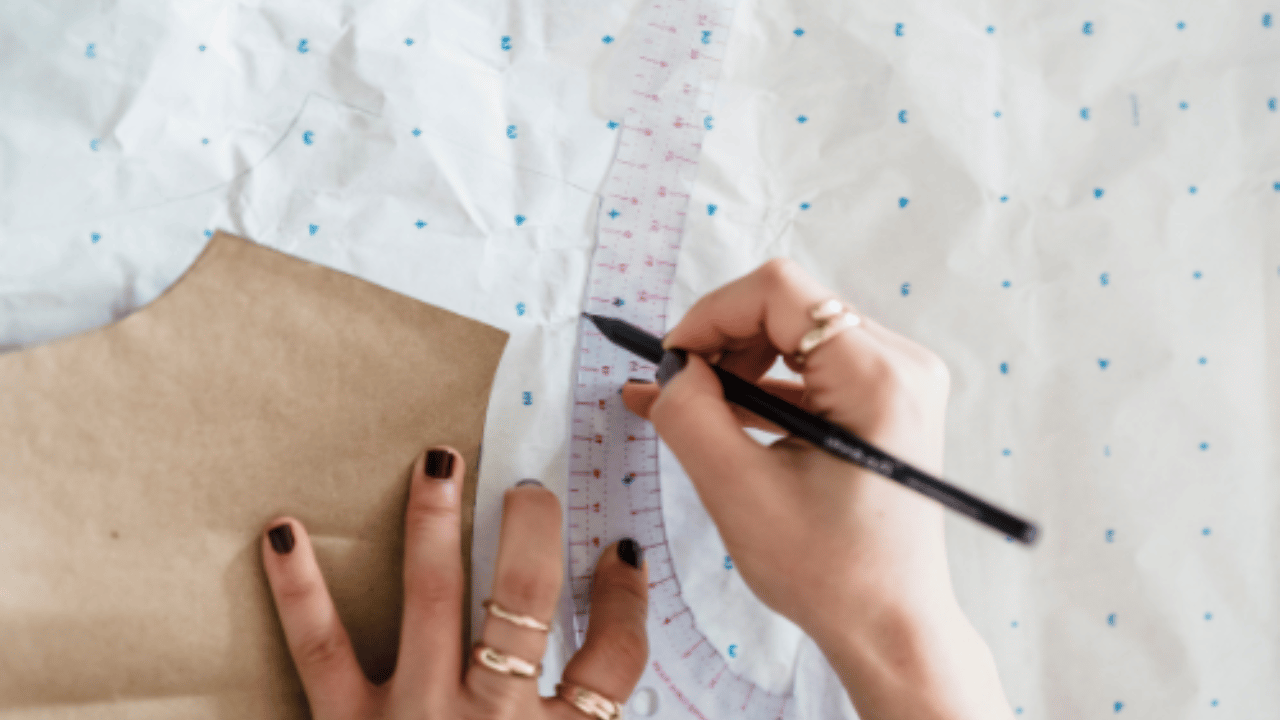
Ruler + pencil

A ruler helps you measure and draw straight lines when you’re drafting your pattern, extending the gusset, or marking where your stitch lines will go. A pencil is best because you can erase and adjust your markings as you go, ensuring accuracy for every step.
Underwear that already fits you
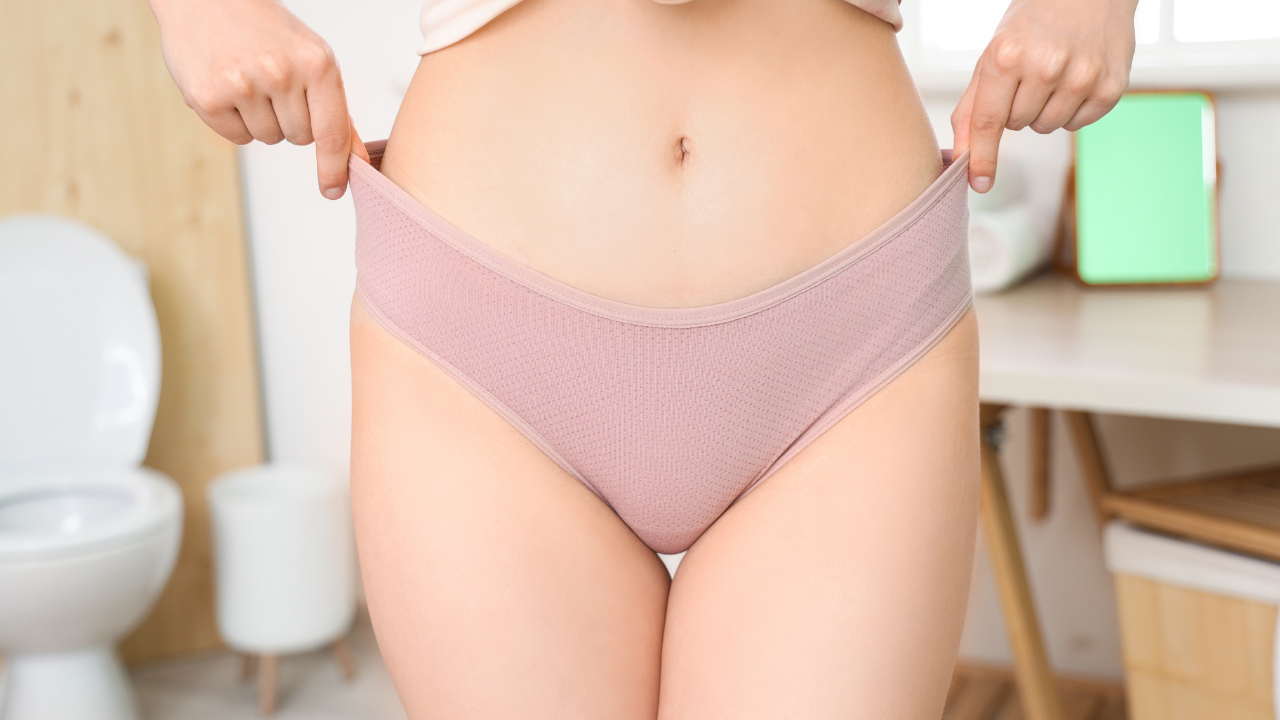
Choose underwear you genuinely like wearing, especially mid-rise or full-coverage briefs. These styles are less likely to shift, or leak compared to hipsters or minimal cuts. Avoid underwear that fits too tightly or too loosely, as either can cause discomfort or leakage. Briefs with a wider gusset offer the best base for turning into period panties.
Absorbent fabric
Try Bamboo fleece, Zorb, cotton flannel, or terry cloth. Zorb holds the most but feels stiffer. Flannel is soft and cheap. Avoid using polyester fleece, microfiber, or synthetic towel fabric, as these don’t absorb well, can trap odors, or cause discomfort against the skin.
Waterproof barrier
A waterproof layer is essential to prevent leaks. Polyurethane laminate (PUL) is the most popular choice because it is thin, flexible, and fully waterproof, making it ideal for period panties. Fleece with a water-resistant finish can add extra protection, but it is thicker and may feel warmer. Wool interlock is a natural water-repellent option, but it won’t stop leaks completely on heavy flow days, so use it only for lighter coverage or as an extra layer.
Optional: Merino wool
Merino wool is a soft, fine natural wool that’s naturally antimicrobial and helps manage moisture and odor. While it can be used as a middle layer to help control smell, it’s not essential and can be expensive. If you choose to use merino, add it between your absorbent and waterproof layers for extra odor control.
Outer layer fabric
For the outermost layer, the part that makes your DIY underwear look and feel like store-bought panties, choose a fabric that is soft, breathable, and stretches easily in all directions. The best options are cotton knit with added spandex (sometimes labeled “cotton-spandex knit” or “cotton Lycra knit”), bamboo knit with stretch, or modal knit fabric. These fabrics move with your body, stay comfortable against the skin, and keep their shape after multiple washes.
Avoid woven cotton (which doesn’t stretch), polyester blends (which can trap heat and moisture), and any fabric that feels stiff or rough. Stiff or non-stretch fabrics can cause chafing and make your panties ride up or fit poorly.
Scissors or rotary cutter

Use sharp fabric scissors or a rotary cutter made for textiles. Sharp blades give you clean, smooth edges, making sewing easier and seams neater. Avoid using paper scissors or dull blades, they’ll chew up your fabric and cause jagged, uneven cuts.
Sewing machine with zigzag stitch (or a serger)
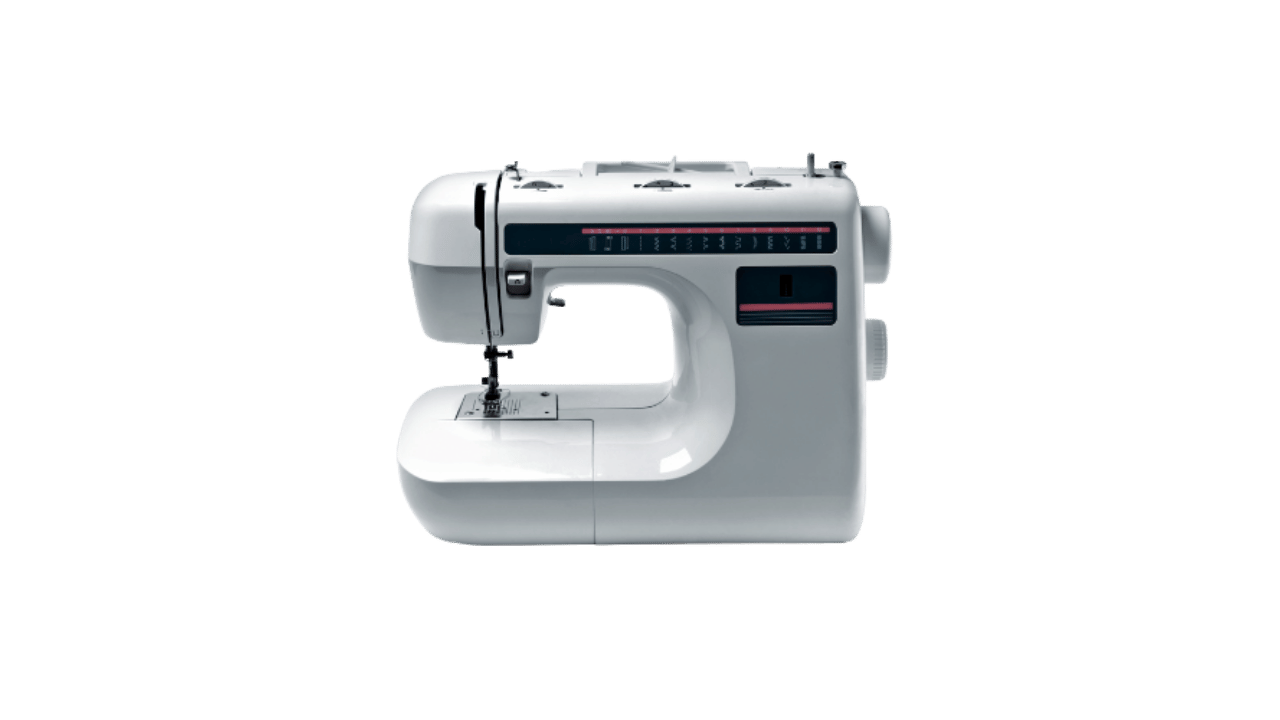
You don’t need an advanced machine, just one that can sew a zigzag stitch, which allows stretch in the seams and helps prevent threads from breaking. A serger (also called an overlocker) is a special sewing machine that trims and finishes fabric edges in one step, making professional-looking seams and especially neat gusset edges, but it’s not necessary for a successful project.
Thread
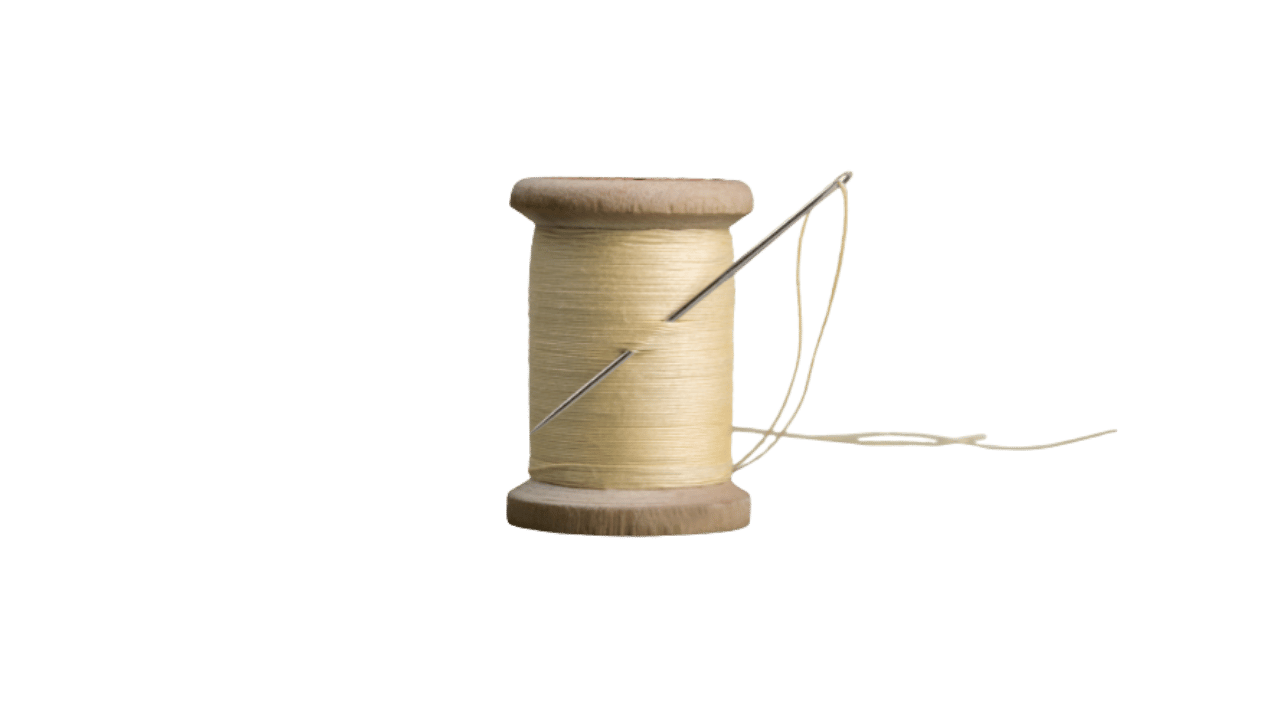
Use polyester thread, as it’s strong and has enough stretch to work with elastic fabrics without snapping. Avoid cotton thread, which breaks more easily on stretchy material, or cheap threads that fray and come apart.
Fabrics to Consider
Top Layer
Organic cotton stretch knit
A soft, breathable fabric made from organic cotton blended with a small amount of spandex for stretch. Feels like your favorite worn-in tee. It absorbs blood quickly and holds up well across a full day.
Bamboo stretch knit
A soft, ultra-stretchy fabric made from bamboo fibers blended with spandex. Feels smooth and cool against the skin, dries quickly, and resists pilling, even after repeated washing.
Merino wool
Naturally antimicrobial and temperature regulating. Feels cozy and dry even with a slow bleed. Use it when odor, itch, or irritation are common for you.
Inner Waterproof Layer
PUL (polyurethane laminate)
Thin, flexible, and holds fluid like nothing else. It doesn’t stretch, so you need to place it exactly where your body bleeds. Always use clips instead of pins or you’ll compromise the waterproof seal.
Fleece with water-resistant treatment
Soft and warm. It slows leaks on lighter days. Works better when used as a supporting layer underneath absorbent fabrics. Not ideal for sleeping or heavy soaking.
Wool interlock
Breathable, slow-absorbing, and gentle on the skin. It handles spotting and slow bleeds without adding bulk. Layer it carefully and wash by hand if you want it to last.
Outer Layer
Cotton spandex
Stretchy and breathable. Holds its form through washing and wear. Feels stable and easy to sew.
Athletic wicking stretch knit
A synthetic, lightweight stretch fabric designed to pull moisture away from the skin and dry quickly. Often made from polyester-spandex blends, it’s ideal for staying cool and comfortable during activity or on hot days.
Recycled poly blends
Durable and moisture-tolerant. Some versions wick well and feel dry against the skin, especially for active wear. Always test on your inner thigh if you’re unsure about texture or breathability.
Top 5 Fabric Combos
1. Organic cotton stretch knit + Zorb + PUL + cotton spandex
This one’s a heavy-flow classic. The cotton feels familiar and soft, Zorb can soak up way more than flannel, PUL locks everything in, and the cotton spandex holds shape without riding up. It’s the kind of pair you wear on your second day and don’t have to think about. There’s a little bulk, but not enough to feel like a diaper. Add extra length to the gusset if you tend to flood when you stand up.
2. Bamboo stretch knit + bamboo fleece + PUL + recycled poly blend
This one’s sleek and breathable. The bamboo layers feel smooth even when wet, and the fleece pulls blood in fast. The poly blend on the outside gives it structure but doesn’t cling like cotton in the heat. Good for daytime wear when you’re moving around a lot. It’s thinner, lighter, and dries fast, even if you free-bleed into it mid-errand.
3. Merino wool + flannel + wool interlock + cotton stretch knit
An all-natural setup. Soft, warm, and ideal for slow, steady bleeds. The wool on top keeps odors down, flannel holds gentle blood flow, and the interlock adds natural moisture resistance. It won’t hold up to a gush, but it’s a solid combo for chill days or luteal spotting. Great for bodies that don’t do well with plastic or sweat buildup.
4. Organic cotton stretch knit + Zorb + PUL (double layer sandwich) + stretch knit fabric
This combination is made for sleeping. Two layers of PUL keep you protected front to back, even if you shift or bleed sideways. The organic cotton stretch knit layer feels dry longer than bamboo, while the stretch knit fabric on the outside holds everything securely in place without digging into your skin. For extra overnight coverage, extend the gusset all the way to the waistband before you cut.
5. Athletic wicking stretch knit + microfleece + PUL + cotton spandex
This is the quick-dry combo. The athletic wicking stretch knit pulls moisture away fast, the fleece feels dry even when soaked, and the PUL keeps it all sealed. It works well for active days, exercise, or long travel stretches where you won’t be able to change often. Slightly thicker, but it stays comfortable for hours.
5. Preparing Your Fabrics
-
Wash all fabrics first

Pre-wash your absorbent, stretch knit, and waterproof layers in warm water using mild detergent. This removes manufacturing residues and pre-shrinks the fabrics so your panties will keep their shape after washing.
-
Dry and iron as needed
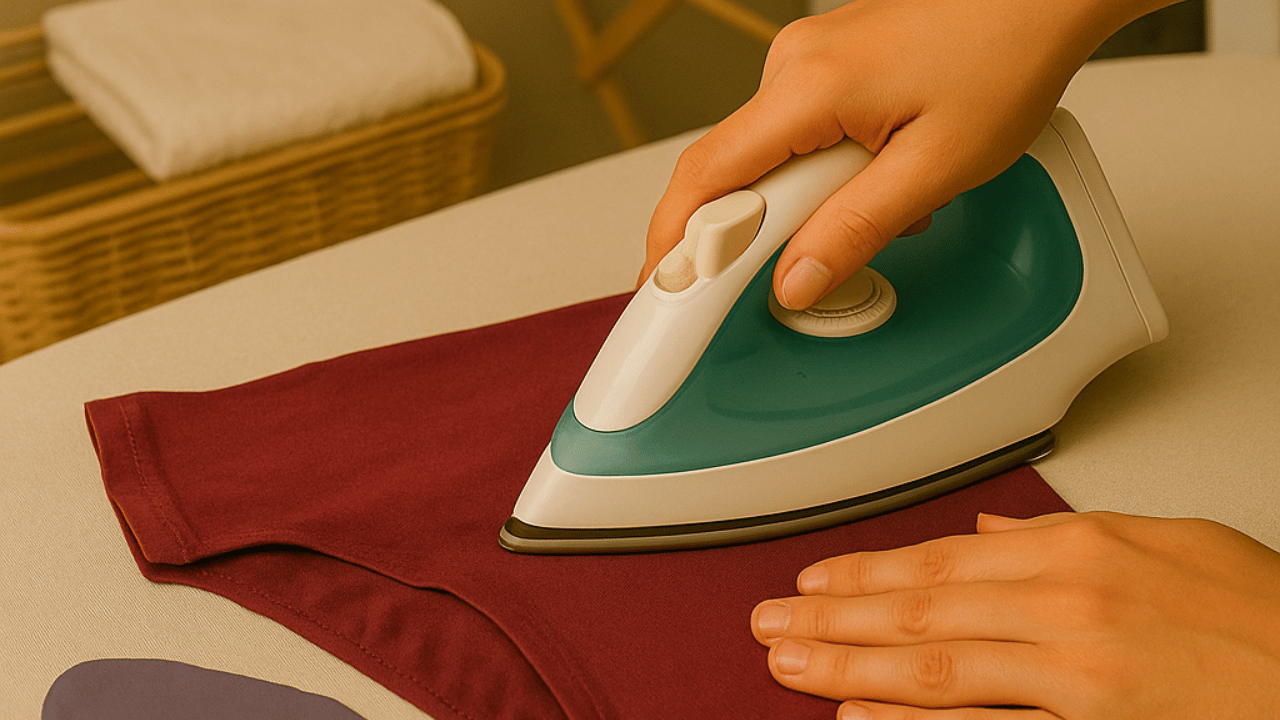
Tumble dry or line dry each fabric according to its care label. For best results, iron the cotton and bamboo knit layers on low heat to smooth out wrinkles and make cutting easier.
-
Check for fabric flaws
Lay out each piece and inspect for holes, thin spots, or stains. Cut around any imperfections so your finished panties are durable and leakproof.
-
Lay fabrics flat and smooth
Place your fabric on a large, clean surface. Smooth out any folds or bunches to ensure your pattern pieces will be accurate and layers won’t shift during cutting.
-
Match up fabric grain and stretch direction
Before cutting, make sure the stretch runs horizontally across the pattern (side to side, not up and down). This ensures your finished panties will move comfortably with your body and fit well.
Pre-shrinking Checklist:
-
Hot wash everything except wool. Use a hot cycle and mild detergent to remove sizing and pre-shrink cotton, bamboo, or synthetic fabrics. Always hand wash wool in cool water to avoid shrinking or felting.
-
Dry on high heat (twice if the fabric feels stiff). Tumble dry all your fabrics on high heat to complete the pre-shrinking process and soften the fibers. If the fabric still feels rigid, repeat drying to ensure it becomes pliable for sewing.
-
Lay flat and smooth before cutting. Spread your fabric on a flat, clean surface, making sure there are no wrinkles or folds. Smoothing the fabric helps your pattern pieces stay accurate and prevents distortion.
-
Check grain direction before you trace. Make sure the stretch of the fabric runs side to side (horizontally) before laying out your pattern. This will ensure the finished underwear stretches comfortably with your body.
-
Never use pins on the waterproof fabric layer (PUL). The waterproof barrier, usually a thin, flexible fabric with a plastic backing (polyurethane laminate or PUL), should be secured with fabric clips instead of pins. Pins can puncture holes in the waterproof layer, causing leaks over time.
-
Use a pressing cloth if you have to iron anything waterproof (PUL). If your waterproof fabric needs ironing, always place a clean cotton cloth between the iron and the material to prevent melting or warping. Use the lowest heat setting and press lightly, as direct heat can damage the waterproof coating.
-
Keep wool out of the dryer unless you want doll-sized panties. Never put wool fabrics in the dryer, as heat will shrink them dramatically and distort their shape. Air dry wool flat to keep its original size and softness.
Pattern Alterations
Start with underwear that already works for your body
Don’t pick a new style just because it looks cute on a model. Use a pair that fits your actual cycle, one that stays put when you move and doesn’t squeeze the wrong places. Mid-rise or full-coverage briefs are ideal. You want space for a real gusset and layers without the waistband cutting into your belly on day two.
Extend the gusset - front and back
Store-bought underwear puts the gusset in the wrong place for a lot of bodies. If you bleed toward the front when sitting or toward the back when sleeping, your underwear needs to catch that. Extend the gusset so it reaches from just below the waistband in front to just below the waistband in back.
Decide: built-in absorbency or snap-in pad
A built-in layer feels like regular underwear. It won’t shift or bunch, and it’s less visible under clothes. But it takes longer to dry and can’t be swapped out mid-day. A snap-in or lay-in pad is more versatile, you can replace it without changing your whole pair. Choose what makes sense for your laundry rhythm, and your bleed.
Trim the waistband height (if needed)
Once you’ve added 3–5 fabric layers to the crotch, the rise of your underwear will shift. Some pairs will feel too high, especially if the outer fabric has less stretch. If the waistband sits above your belly button when you’re done, trim the top down before sewing it shut. Try it on first, the goal is comfort.
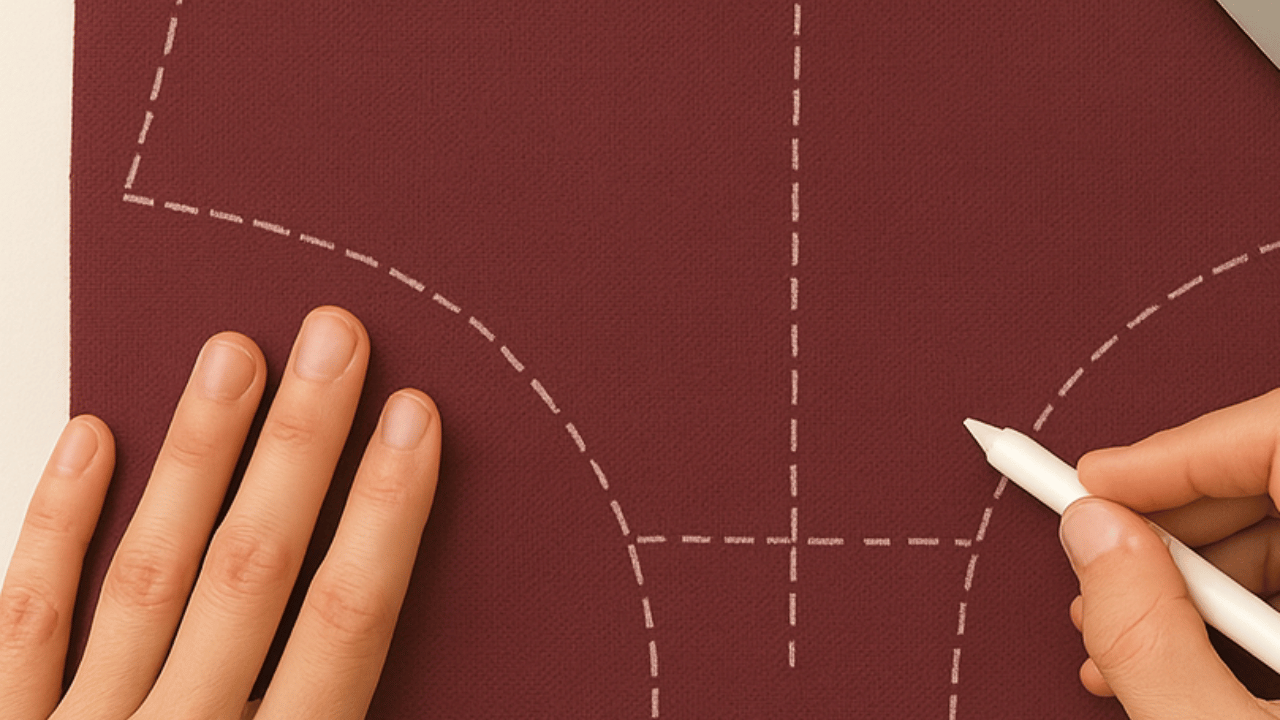
Mark your flow zones before you cut
Trace where you actually bleed. Use chalk or pencil and draw the coverage you need on a test pair. Some bodies need more padding in the front, others in the back. Don’t guess based on diagrams, bleed logic beats pattern logic every time.
How To Sew Period Underwear
1. Mark Your Pattern and Cut Every Layer
Trace your full underwear pattern onto the outer fabric. Mark the crotch area, the front and back seam lines, and how long you want your gusset to run, especially if you’re extending it to the waistband.
Then cut each piece:
-
Outer underwear layer (front and back)
-
Gusset top (the layer that touches the vulva)
-
Absorbent core (flannel, Zorb, fleece - 1–2 layers)
-
Waterproof layer (PUL or wool interlock)
Mark the front and back of each piece before stacking, or you’ll sew something on backwards and not realize until blood leaks off the wrong end.
2. Build the Gusset Sandwich
Start with your top layer (the one that touches your skin), then stack:
-
Absorbent fabric(s)
-
Waterproof layer (shiny side down if using PUL)
Clip the layers together. Sew around the edge with a zigzag or serger stitch to hold them in place. You’re not attaching it to the underwear yet, you’re just making the gusset unit.
If you’re doing a snap-in or lay-in pad, stop here. You’ll skip this step and sew a flannel pad shape separately, then use snaps or wings later.
3. Attach the Gusset to the Underwear Base
Lay the gusset onto the wrong side of the underwear’s crotch section (inside the back panel). Pin or clip it in place, make sure it’s centered and covers the full bleed zone.
Now place the front underwear piece on top, right sides together with the back. The gusset will be sandwiched between the outer layers.
Sew the crotch seam, through all three layers: front, gusset, and back. Turn it right side out. Your gusset should now be enclosed and laying flat inside the underwear base.
If you’re topstitching the gusset on (instead of hiding it in the seam), center it on the crotch panel and zigzag it in place. Make sure the edges are finished first so it doesn’t fray through washing.
4. Sew the Sides and Finish the Edges
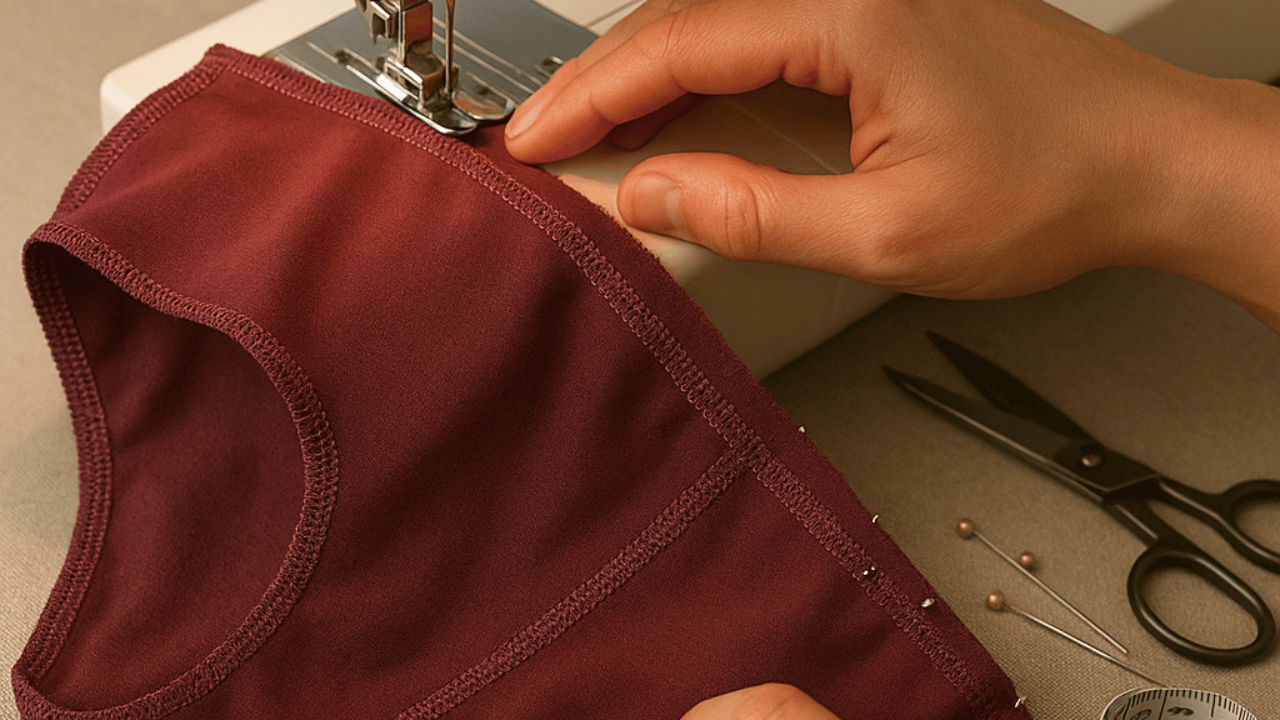
Sew the side seams of your underwear, right sides together. Try it on (over a liner if needed) to check fit before finishing the waistband or legs.
Finish the waist and leg openings with:
-
Foldover elastic (for stretch + stability)
-
Knit binding (if you prefer soft edges)
-
Zigzag folded hem (works in a pinch, may stretch over time)
If the crotch feels tight or bulky, trim seam allowances now before enclosing. If it feels loose, check if the gusset is pulling the layers out of shape, this usually happens if PUL is stitched too tightly.
5. Do a Stretch + Sit Test
Before you call it done, squat in it. Sit on your side. Pull your knees up to your chest. If anything shifts, gaps, or rides up, now’s the time to adjust.
The first pair always teaches you something, where your blood travels, what thickness your body likes, how your labia react to each seam.
Make notes. Then make another pair. One that fits your bleed even better.
Tips & Tricks
Finish your gusset edges before sewing
Use a zigzag or serger to finish the raw edges of your gusset layers before stitching them into the underwear. It keeps them from fraying after wash five. More importantly, it keeps the layers from shifting when they’re soaked, which is what leads to bunching, leaking, and discomfort mid-cycle.
Sew with right sides together - always
When you’re assembling the outer layers, the fabric that faces your skin should be on the inside while you sew. After stitching, flip it right side out. If you mix this up, your seams will show, your gusset won’t sit flat, and it’ll feel off every time you walk.
Avoid pins - especially with PUL
PUL can’t be pierced. Holes don’t close, and they turn into leaks by week two. Use clips only. If you need to mark it, do a chalk dot outside the leak zone or trace lightly with a pencil — never poke.
Test the stretch before committing
Before you sew your waist or leg holes closed, give the whole thing a pull. Stretch the opening and see how it rebounds. If the fabric stays loose or curls, switch your finish or reinforce it. A waistband that collapses under a full bleed is a nightmare to wear in public.
Keep a pair as your tester
After your first wash, check every stitch. Did anything curl? Did the gusset pull? Where did it soak first? This is the pair you learn from. Every body bleeds different, and your next pair will be built on what this one teaches you.
And also, if you need extra backup on heavy days, the Free Bleed® Blanket will catch the rest.
FAQ
To keep period panties from developing odors, it’s important to choose absorbent materials that wick moisture away from the skin, such as organic cotton, bamboo, or terry cloth. Wash your period underwear soon after wearing, and avoid letting them sit damp for long periods. Using a top layer of natural fibers and thoroughly drying all the layers after washing will help prevent smell. For extra odor control, some people add a moisture-wicking or antimicrobial layer to the gusset area.
Period panties are primarily designed to absorb menstrual flow, not urine. While they contain an absorbent layer and a waterproof fabric barrier, most will only handle small leaks or light bladder drips, not a full pee. If you need protection for both periods and incontinence, look for period pants with multiple absorbent layers and a high-quality waterproof layer, or consider incontinence-specific underwear for the most reliable protection.
Period undies should not feel wet when made with the right combination of absorbent and moisture-wicking layers. The gusset piece typically pulls liquid away from the skin into the absorbent core, while the waterproof barrier keeps leaks from escaping. If your period underwear feels damp, try styles that use a diverse range of absorbent materials, or opt for pairs with extra absorbent layers and a moisture-wicking top layer for a drier feel.
Period panties are hygienic as long as they are changed regularly and washed thoroughly. The combination of an absorbent layer, waterproof fabric, and secure gusset seams helps prevent leaks and keeps the crotch area clean. Rinse them in cold water after use and wash with detergent to remove all blood and bacteria. When made from natural fibers and cared for properly, period underwear is as hygienic as disposable products or cloth pads and can be reused safely for a greener future.